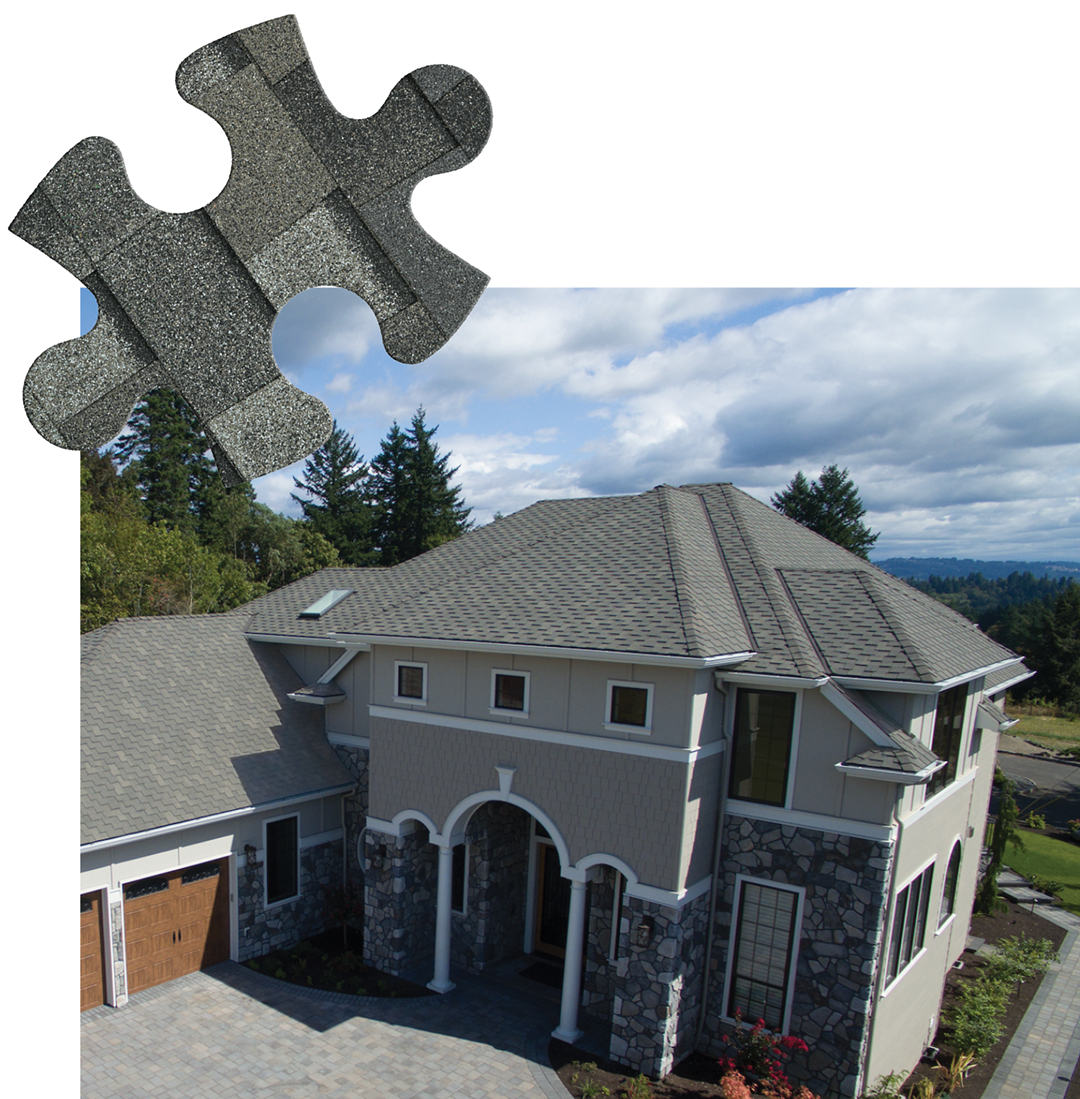
As a professional roofing contractor, you understand properly reroofing a home involves more than installing shingles. To win your customers' approval, trust and contracts, you must educate them about how each component—an ice and water barrier, underlayment, starter shingles, and field and ridge shingles—creates a complete roof system.
To ensure all these materials work together to provide long-lasting, cohesive roof systems for your residential clients, consider selecting these products from a single manufacturer.
Steep-slope components
Understanding how roof system components work together to provide security against water intrusion, ice dam formation, and winds and impact damage is essential information to share with clients. Demonstrating your expert knowledge helps your customers understand all that is involved in the roof system replacement process.
Home ventilation, landscape protection, job-site cleanup and an attic inspection are just a few things your customers may not consider, and your recommendations regarding appropriate roofing products for your customers' home styles and climates go a long way toward becoming the contractor they select for their projects.
An ice and water barrier, underlayment, starter shingles, and field and ridge shingles comprise a roof system for many regions in North America. When you install a complete roof system produced from one manufacturer, these materials are designed to complement each other.
Underlayment
Beginning at the roof deck, a reliable roof system can begin with a quality ice and water barrier. For instance, in certain climates prone to snow and ice accumulation, a quality ice and water barrier seals around nails and prevents moisture penetration.
Each underlayment contributes its own strengths. The roof deck type, slope, climate and type of finish roofing material are key determinants of underlayment selection. Some underlayments provide exceptional foot traction for installers, which can help shingles remain in place before fastening.
Although an appropriate underlayment is valuable under starter shingles, the starter shingle's relationship to field shingles is especially important for fastening—the starter shingle sizes must have specific dimensions so the fasteners penetrate the starter shingles, as well.
Starter shingles
After the appropriate ice and water barrier and underlayment are in place, installation of the roofing shingles begins with starter shingles on the eave to protect the leading edge of the roof.
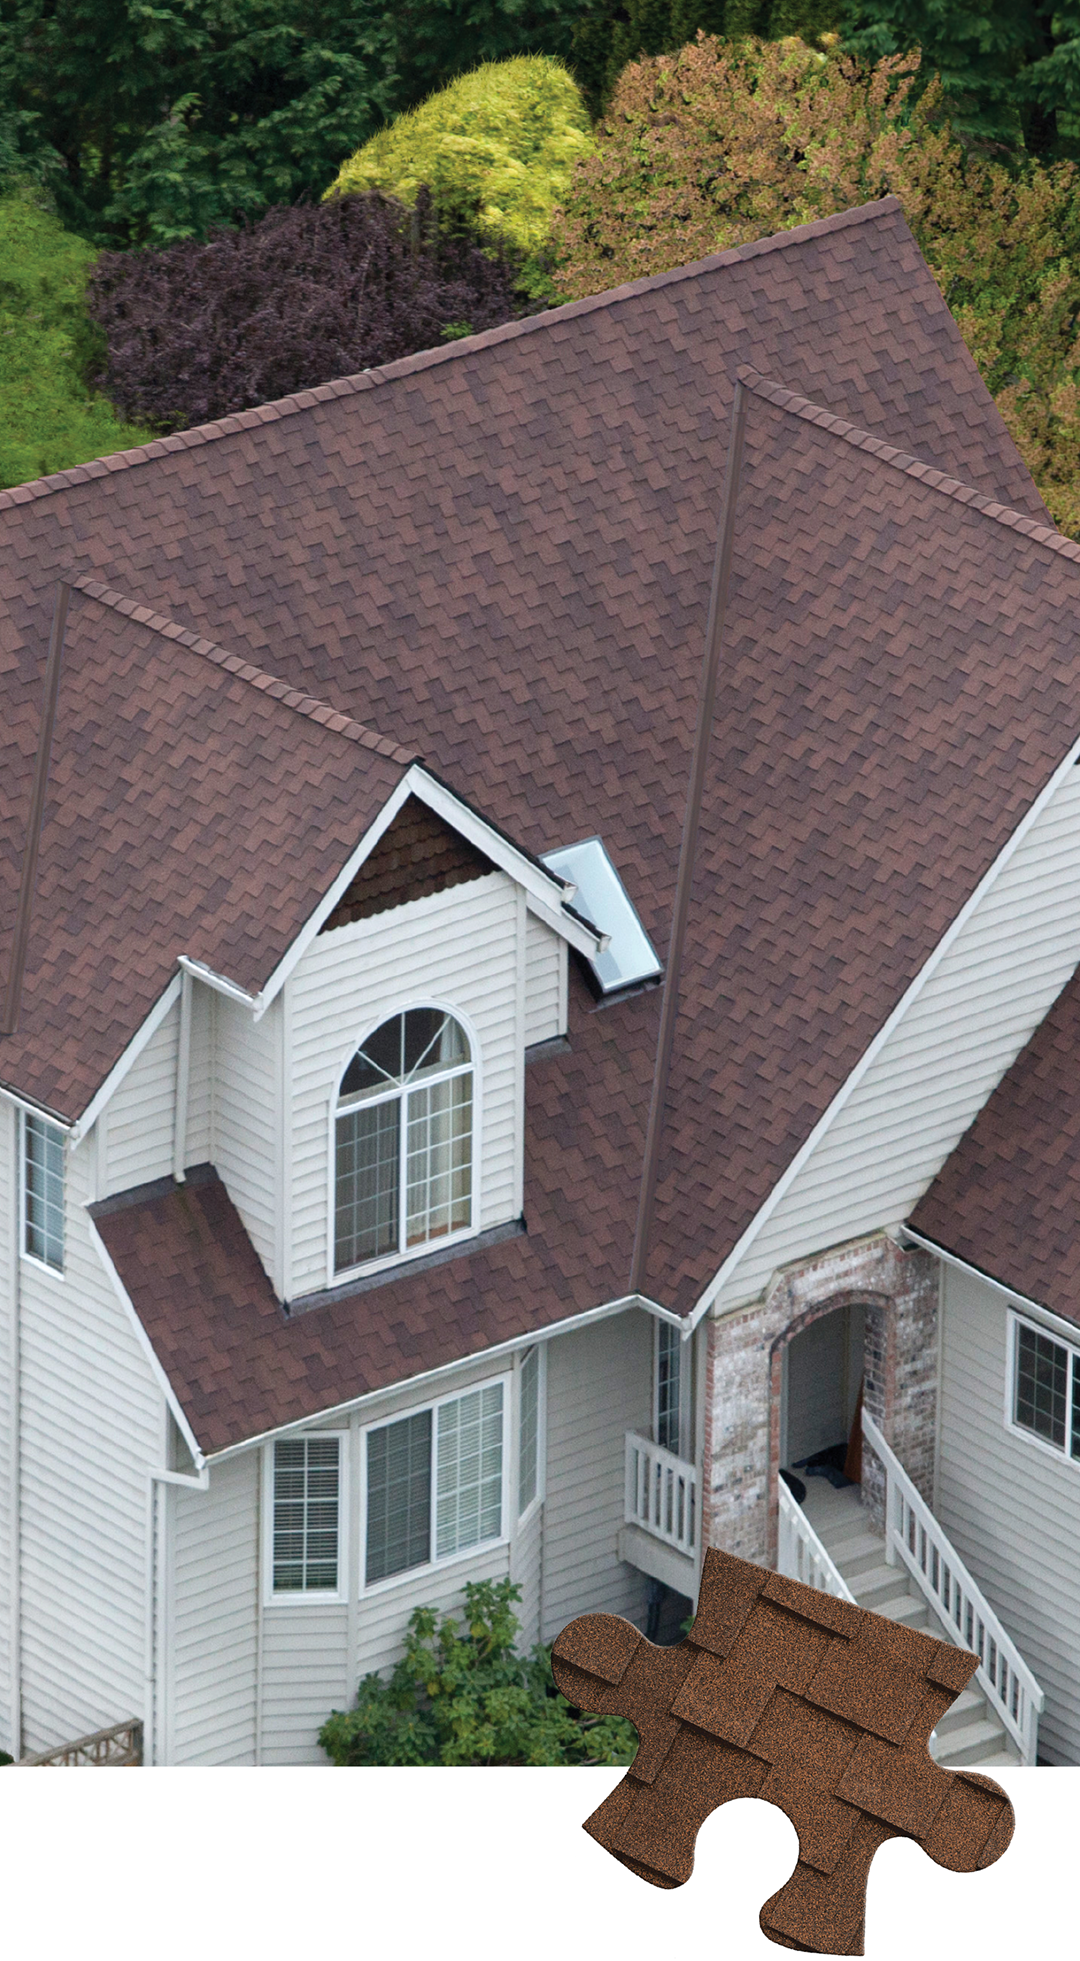
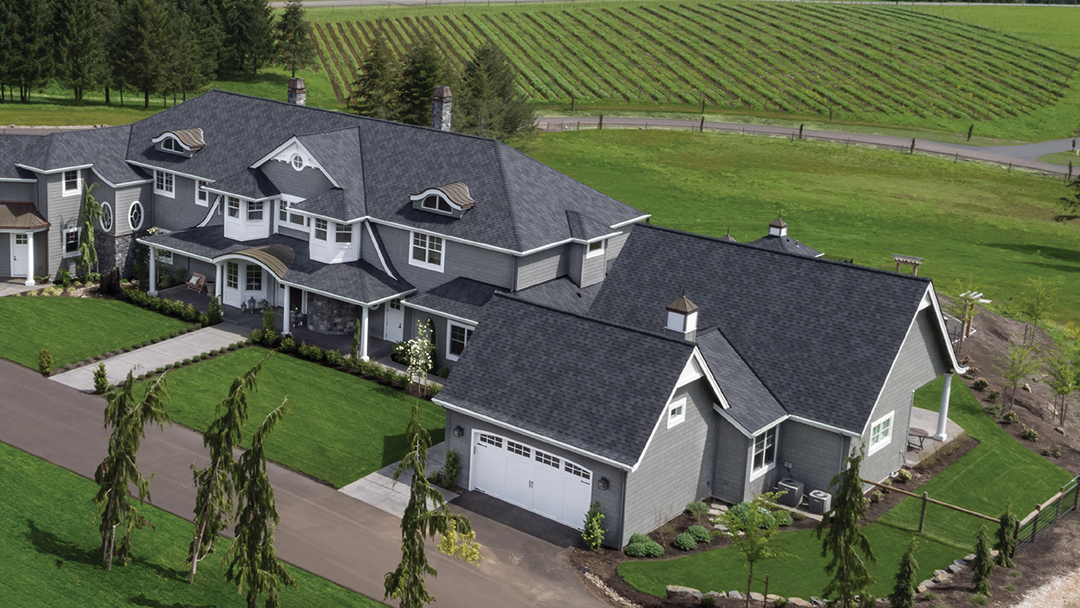
Visually, homeowners enjoy the design benefits a cohesive roof system provides. For example, matching starter shingles allow the first course of field shingles to blend in seamlessly with the rest of the roof. The same is true with ridge shingles designed to match in color and shape, accenting the enhanced profiles and textures of laminate architectural or designer shingles.
Malarkey Roofing Products,® Portland, Ore., manufactures Malarkey Smart Start™ starter shingles designed to separate lengthwise at a perforation to provide contractors with two full-size starter shingles. The middle of the shingle is perforated 8 3/16 inches from each edge, and both pieces have seal-down strips.
Besides eaves, Malarkey Roofing Products recommends starter shingles be installed on the rake edges of a roof to provide a clean edge and increase wind resistance. They are designed to increase protection against water intrusion and blow-off.
Installation of starter shingles is fairly straightforward for seasoned contractors. For three-tab and laminate shingles, cut 6 inches off one end of the first starter shingle. Place it on a lower corner of the roof, overhanging the rake and eave edges (including perimeter metal) by 1/4 to 3/4 of an inch. Ensure the starter is positioned with the factory-applied sealant strip face up and the strip adjacent to the eave edge of the roof. Fasten with four nails 1 1/2 to 3 inches up from the eave (not in the seal-down strip) with one fastener 1 inch from each side of the starter. The remaining two nails should be evenly spaced on the same line as the end fasteners. Continue the course across the eave with full-length starter shingles and butt them loosely together to avoid buckling.
After the underlayment and starter shingles are in place, the roof is adequately prepared to accept field shingles.
In addition to aesthetics, using a single-source manufacturer allows roofing contractors to learn the precautions or limitations that could affect product compatibility and help avoid potential problems.
Field shingles
Malarkey Roofing Products recently published an installation guide for laminate architectural field shingles, which allows for an 8-inch offset over five courses rather than a 5 5/8-inch offset over seven courses, resulting in fewer cuts and less waste. (However, laminate shingles have a random-cut pattern, so almost any offset is acceptable as long as the minimum offset is at least 4 inches.)
The first course begins with a full-length shingle installed directly over the starter course. Beginning at the same lower corner of the roof, apply flush with the edges of the starter course on both eave and rake sides, maintaining the 1/4- to 3/4-inch roof overhang. For the second and succeeding courses, start with a shingle from which 8 inches have been cut from one end. The remaining 32-inch piece can be positioned over the underlying shingle and the bottom edge aligned along a line level with the top of the cutout on the saw tooth overlay, leaving a 5 5/8-inch exposure. Finally, secure with fasteners.
A note about fasteners
Under typical conditions, four fasteners are required for each full shingle. In areas with high winds, such as 70 mph for three-tab shingles, 130 mph for laminate shingles and 140 mph for heavyweight designer shingles, a six-nail pattern may be necessary to meet local code requirements. Be sure to consult your manufacturer regarding the required number of nails.
"We approve the use of hand-nailing and/or pneumatic nailers for applying fasteners," says John Kouba, director of technical services for Malarkey Roofing Products. "Nails must be driven flush to the shingle surface. When fastening adjacent shingles, butt them loosely together to prevent buckling."
Fasteners must be placed in the nailing area about 1 inch in from each edge with the remaining fasteners evenly spaced in between. Malarkey Roofing Products' laminate shingles feature The Zone,® an enlarged, 1 5/16-inch-wide nailing area that helps ensure correct fastener placement.
Courses three through five in this laminate installation are begun with partial shingles, each progressively 8 inches shorter, establishing an overall diagonal pattern or "book." Pieces cut from shingles along the left rake can be used either to continue the diagonal installation pattern or to finish courses at the right rake.
Apply a full-length shingle adjacent to each of the first five courses to extend the pattern. Always loosely butt the shingles factory-edge to factory-edge when installing the stair-step method. This helps maintain a straight layout of the remaining shingles. The sixth course begins again with a full-length shingle, so repeat the 1-to-5 course cycle on the roof. Shingles may be installed from either the left- or right-hand side of the roof. Start at either rake edge and follow layout and cutting instructions as required for proper application.
Ridge shingles
Lastly, the roof ridge is capped with either shingles. Ridge products not only complement a home, but they also provide an added benefit when made with polymer-modified asphalt.
Additionally, the use of upcycled plastics is an excellent source of high-end polymers while helping to manage a global plastic waste problem. As reported in the peer-reviewed journal Science Advances Dec. 18, 2018, a recent study, "Production, use, and fate of all plastics ever made," found "of the 8.3 billion metric tons that has been produced, 6.3 billion metric tons has become plastic waste. Of that, only nine percent has been recycled."
"Upcycling is a necessary reality for all manufacturers today," says Rich Robbins, vice president of sales for Malarkey Roofing Products. "We are in a critical position to improve our products sustainably for our customers and the health of the planet. At our scale of production, we can make a demonstrable impact. For instance, each ton of upcycled material prevents seven and a half cubic yards of material and several barrels of oil from entering the landfill."
On an average-sized home with a roof size of about 3,000 square feet, the upcycled content in NEX polymer-modified asphalt is equivalent to more than five rubber tires and 350 plastic milk jugs.
Furthermore, the company considers a product's complete life cycle in its original design to limit environmental impact. When the polymer-modified asphalt roofing shingles currently in use eventually need replacement, the shingles can be recycled into road paving material.
At Malarkey Roofing Products' Portland facility, roofing shingles are being manufactured from an alternative energy source, a methane recovery pipeline from a nearby wastewater treatment facility. It is encouraging to realize these shingles—made with upcycled material and manufactured with a recycled energy source—can be reused themselves as a resource for roads.
In addition, specially engineered roofing granules from 3M® assist roofing shingles with regional climatic challenges. 3M's new Smog-reducing Granules are designed to help remove smog pollution (nitrogen oxides) from the air.
In addition to reducing smog, 3M Cool Roofing Granules are designed to reflect the sun's ultraviolet rays. This enables the shingles' colors to be seen while still allowing a roof to stay cool. Cool roofs reportedly help reduce the effects of urban heat islands, according to the Environmental Protection Agency, and are mandated in certain parts of the U.S., such as Los Angeles.
For your customers concerned about environmental effects, these types of products provide "green" benefits in addition to a cohesive roof system.
Warranties
In some cases, manufacturers require cohesive roof systems for full product warranties.
"Higher-end warranties often require additional installation requirements, so it is important to be aware of the differences in the installation requirements for a specific warranty," Kouba says.
From a manufacturer's perspective, this allows like parts to work together as they were designed and intended. System warranties can benefit your homeowner customers, as well as your business, as they extend the reliable performance of a roof system over time. This also keeps the responsibility for the roof system with the manufacturer. For instance, if there is a failure in an underlayment that does not belong to the manufacturer, the manufacturer would have no liability for shingle replacement after the faulty underlayment is replaced.
Combining roofing products that are not sold together as a complete roof system is possible, but mixed-material systems limit homeowners from obtaining advantageous system warranties offered by manufacturers.
It also is helpful for manufacturers to provide contractors with information and helpful guides regarding proper installation of the shingle roof system. During roof inspections for the labor warranty, inspectors visit roof systems in progress, where, if needed, they can work with the foreman and crew to ensure proper roof system installation.
A secure choice
Underneath the shingles, homeowners can rest assured the levels of protection provided in a cohesive roof system atop their homes will provide long-lasting security. Compatible components such as underlayments and ice and water barriers provide reliable reinforcement when the structures experience severe weather.
Bobby Lambrix is communications coordinator for Malarkey Roofing Products,® Portland, Ore.


COMMENTS
Be the first to comment. Please log in to leave a comment.